Crack detection of cylinder liners by means of eddy current
Today's cylinder liners have to comply with ever greater requirements. These components, along with coated cylinder bores, have to withstand increasing ignition pressures and speeds.
At the same time, they fulfill an important function in engines by ensuring that the piston runs optimally. To reduce wear, the running surface must be smooth and ensure lubrication between the sliding partners.
If the material surface is damaged by surface defects such as cracks, this can also affect other components. As a result, the entire engine might be compromised. So-called piston seizure is another common issue caused by dry friction between the piston and cylinder. The temperature increases so much that the piston and running surface band together and the engine comes to a standstill.
On that account, non-destructive and automated testing is a common practice performed to monitor and ensure the quality of the product continuously.
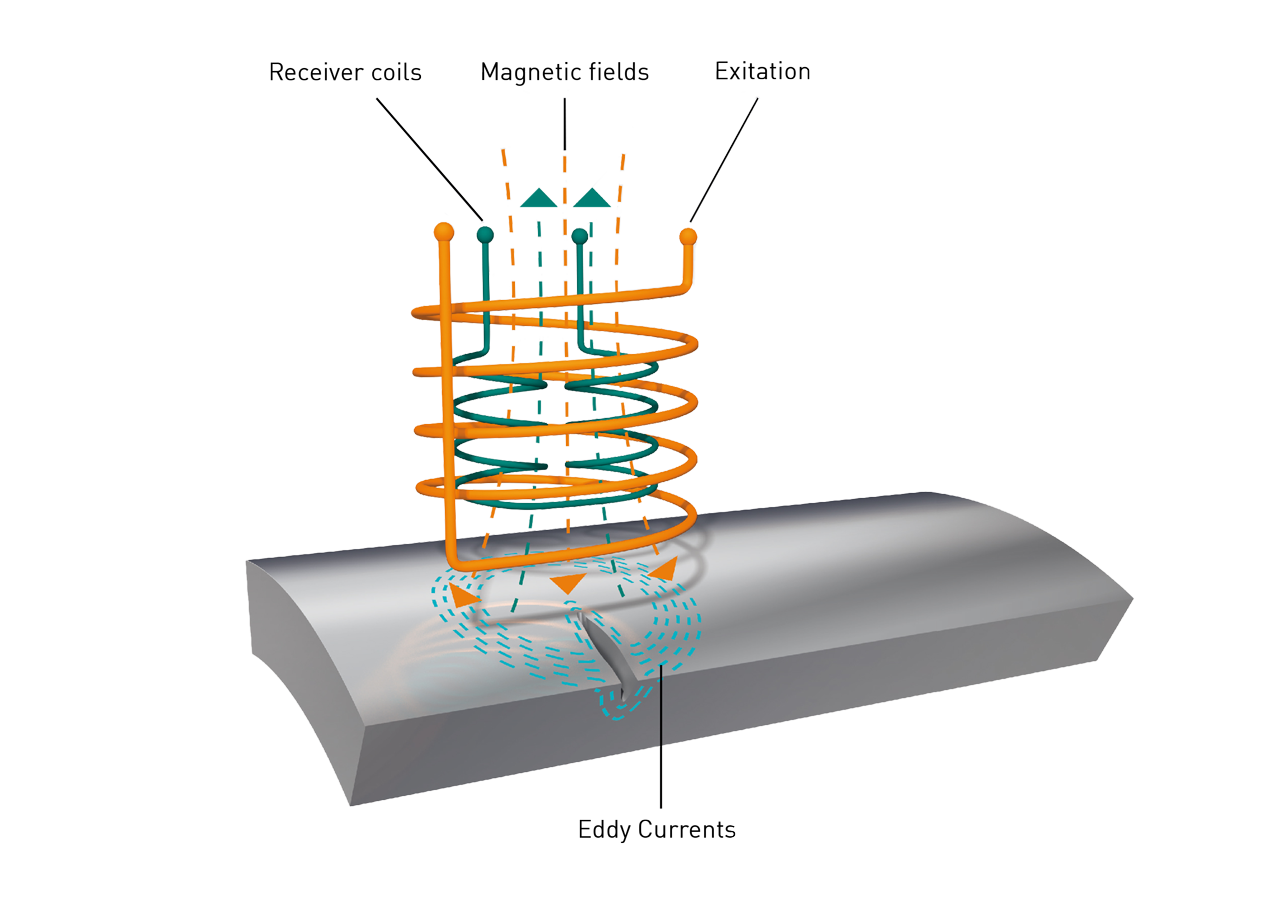
Eddy current testing instruments are frequently used to test the cylinder bore / cylinder liner. The inner surface is scanned in conjunction with a rotating, longitudinally guided eddy current sensor.

This test system detects open cracks and pores reliably. It also distinguishes between the desired surface roughness (micro-pores, honing structure) and an actual defect.
With a handling system that is individually adapted to the test task, the cylinder bores / liners in the engine blocks are automatically checked for defects. Due to the high resolution, the eddy current test, coupled with a rotating special eddy current sensor shows not only the open-surface defects, but also the hidden defects in the aluminum block just below the material surface. Immediately after the test, the results are automatically classified as ok and not ok, respectively.


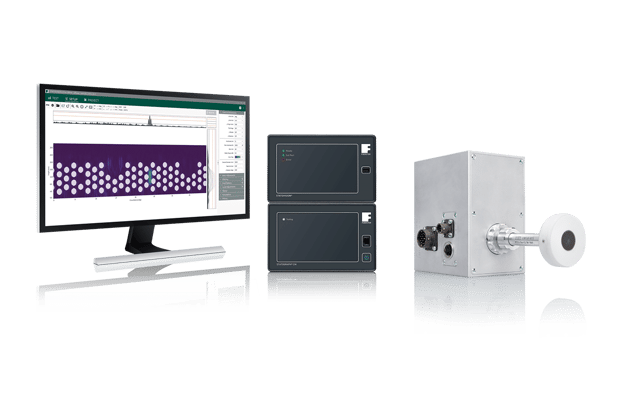
The test results are documented using an evaluation software for crack testing. The software displays the eddy current signals in an understandable C-scan. An image provides information about the quality of the production process, and the surface quality of the cylinder bore / liner to be tested. The comprehensive product documentation of the scan is used for continuous quality assurance. It allows traceability in the event of damage while considering the increasing demands on the quality process.

With the STATOGRAPH test device, the special eddy current sensor, and the STATOVISION evaluation software, FOERSTER has brought an extraordinary and highly developed test system to the market. On this note, material defects are detected in due time to ensure the best quality. You can find information on this under this link.