In order to save weight and fuel, automotive manufacturers often rely on aluminum components. These have to undergo a heat treatment after hardening in order to avoid stress cracking of the material. To ensure that non-heat treated parts are recognized early in the process, a non-destructive structure testing is part of the continuous quality and process assurance.
Heat-treated and non-heat-treated aluminum components have a marked difference in electrical conductivity. This is the basic prerequisite for eddy current testing and sorting.

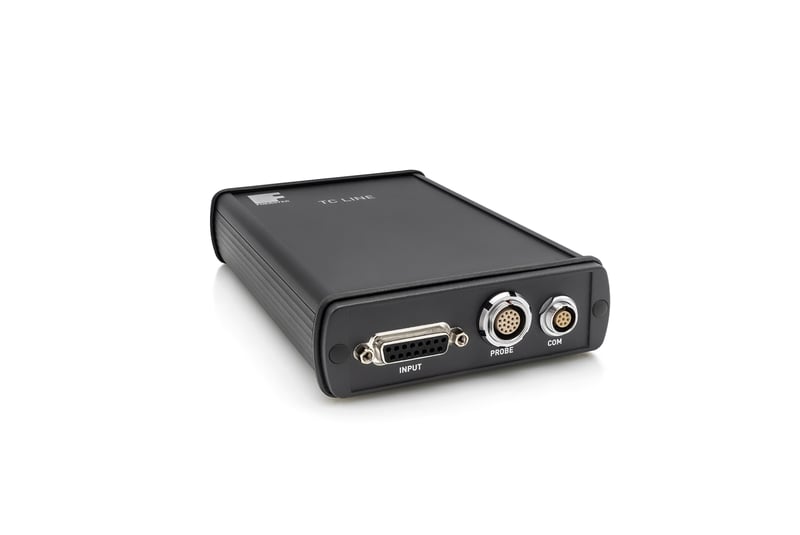
Figure 1: MAGNATEST TCL
FOERSTER can draw on many years of experience with this kind of testing. When using the eddy current method, the components are examined directly in the line for heat treatment condition. The method is based on a comparison with reference defects.
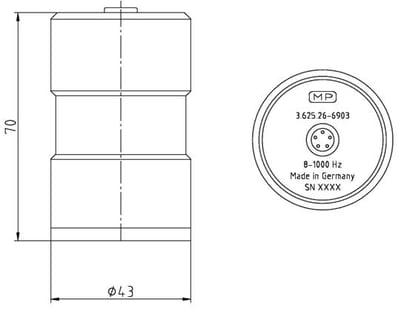
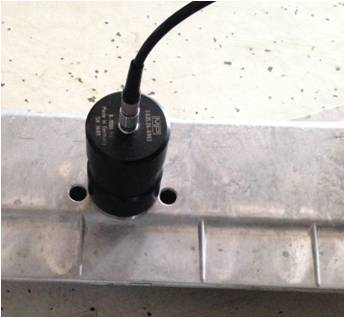
The MAGNATEST TCL test system in combination with a static probe is used for structure testing of aluminum components (see Figure 1 & 2). For testing, the probe is placed perpendicular to the test position. In the line, this is completely automated. Directly after the testing, the components are sorted. Versatile documentation and evaluation functions support the targeted quality assurance.


Figure 2: Scheme and example for the probe
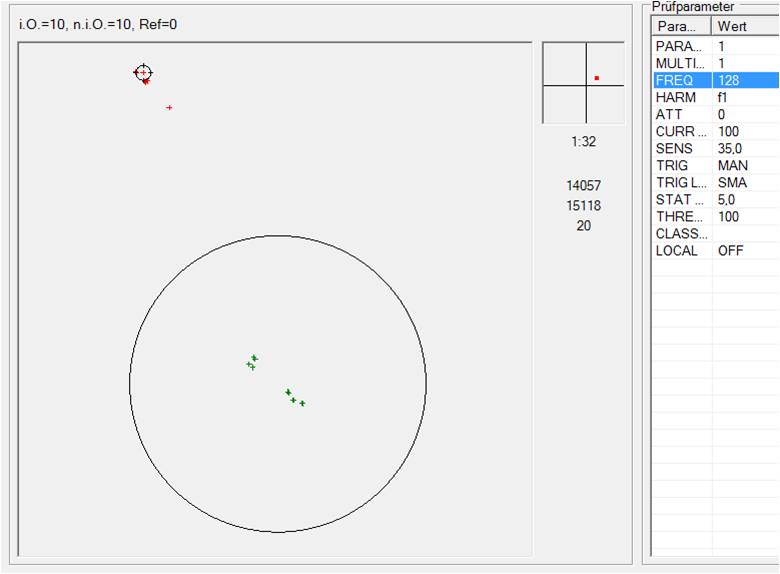
The separation of the heat-treated and the non-heat-treated aluminum components is possible at a test frequency of 128 Hz (see Figure 3). Green marks show the heat-treated gain with an electrical conductivity of 17.16 MS/m. Red marks display the non-heat-treated gain with an electrical conductivity of 24.14 MS/m.
 Figure 3: Test results
For the structure testing of aluminum components, we recommend the MAGNATEST TCL test system in combination with a static probe. This equipment allows heat-treated and non-heat-treated aluminum components to be separated from each other. For more information, please visit our website at foerstergroup.com